Smart Thermostat Installation: Complete Guide to Setup, Wiring, Compatibility, Benefits, Maintenance, and Smart Home Integration
Smart thermostats have become an important part of modern homes, offering greater convenience, automation, and control over indoor temperatures.
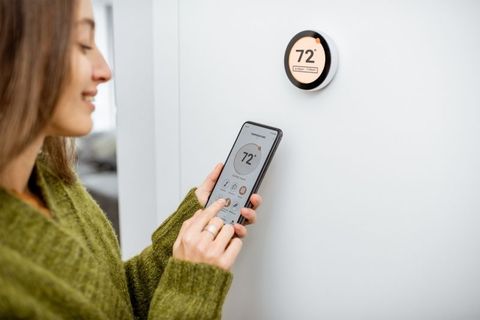
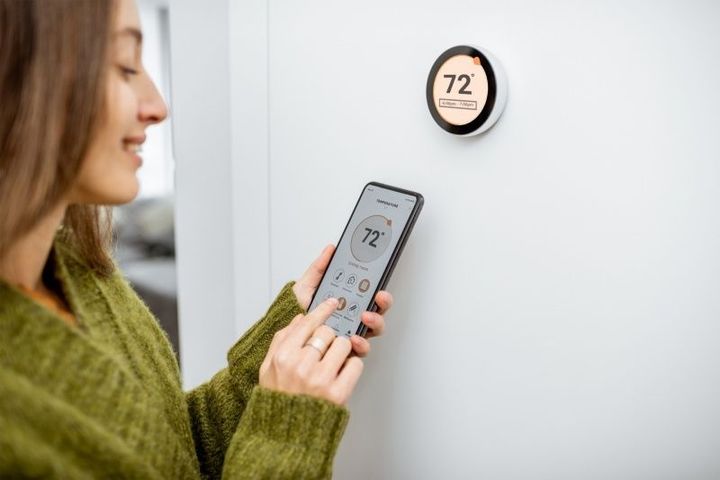
Unlike traditional thermostats, smart thermostats can connect with home networks and allow users to manage heating and cooling systems from mobile devices or voice assistants.
Proper smart thermostat installation ensures reliable communication with your HVAC system and helps you take advantage of advanced scheduling, remote access, and smart home features. Whether you are replacing an older thermostat or installing one for the first time, understanding the installation process can help achieve the best results.
What Is a Smart Thermostat?
A smart thermostat is a programmable device that controls a home's heating and cooling system while providing intelligent features such as wireless connectivity, automated scheduling, occupancy detection, and remote management.
Many smart thermostats can learn user preferences over time and automatically adjust temperature settings to match daily routines.
Why Install a Smart Thermostat?
Installing a smart thermostat offers several advantages for homeowners looking to modernize their HVAC system.
Some common reasons include:
- Convenient temperature control
- Remote monitoring through mobile applications
- Personalized scheduling
- Integration with smart home devices
- Automatic climate adjustments
- Improved HVAC system management
- Real-time temperature monitoring
Understanding HVAC Compatibility
Before installation, it is important to verify that the smart thermostat is compatible with the existing HVAC system.
Most smart thermostats support:
- Central heating systems
- Central air conditioning
- Heat pumps
- Multi-stage HVAC systems
- Electric heating systems
- Gas furnaces
- Hybrid heating systems
Some systems may require additional accessories or specific wiring configurations. Reviewing compatibility before installation helps prevent setup issues.
Tools Needed for Installation
Having the proper tools ready makes installation easier.
Common tools include:
- Screwdriver set
- Drill and drill bits
- Wall anchors
- Mounting screws
- Wire labels
- Voltage tester
- Level
- Installation guide
Safety Before Installation
Safety should always come first when working with electrical equipment.
Before beginning:
- Turn off power to the HVAC system.
- Verify that electrical power is disconnected.
- Label existing wires before removing the old thermostat.
- Take a photo of the current wiring for future reference.
- Read the installation instructions carefully.
Step-by-Step Smart Thermostat Installation
Step 1: Remove the Existing Thermostat
Carefully remove the thermostat cover and disconnect each wire after labeling it.
Step 2: Install the Mounting Plate
Secure the new mounting bracket to the wall using screws and ensure it is level.
Step 3: Connect the Wiring
Insert each labeled wire into the matching terminal on the new thermostat according to the installation guide.
Step 4: Attach the Thermostat Display
Once the wiring is complete, attach the thermostat display to the mounting plate.
Step 5: Restore Power
Turn the HVAC system back on and allow the thermostat to start its initial setup process.
Step 6: Configure Initial Settings
Complete the on-screen setup by selecting:
- Language
- Date and time
- Wi-Fi network
- Heating and cooling preferences
- Home location
- Mobile application connection
Understanding Thermostat Wiring
Thermostat wiring varies depending on the HVAC system.
Common wire labels include:
- R – Power
- Rc – Cooling power
- Rh – Heating power
- C – Common wire
- W – Heating
- Y – Cooling
- G – Fan
Some smart thermostats require a C-wire to provide continuous power. If one is unavailable, an adapter may be required depending on the thermostat model.
Smart Home Integration
One of the biggest advantages of smart thermostats is their ability to integrate with connected home devices.
Common integrations include:
- Voice assistants
- Smart speakers
- Smart lighting systems
- Home automation hubs
- Smart sensors
- Smart security systems
These integrations allow homeowners to automate climate control as part of a connected home environment.
Key Features
Modern smart thermostats offer many useful features.
Remote Access
Adjust temperatures from almost anywhere using a mobile device.
Smart Scheduling
Create daily and weekly schedules that match your routine.
Learning Technology
Some thermostats automatically learn preferred temperature settings over time.
Occupancy Detection
Built-in sensors can detect when people are home or away.
Weather Awareness
Certain models adjust indoor temperatures based on outdoor weather conditions.
System Alerts
Receive notifications if unusual HVAC activity or maintenance needs are detected.
Benefits of Smart Thermostat Installation
Proper installation provides several long-term advantages.
Improved Indoor Comfort
Automatic adjustments maintain a consistent indoor environment throughout the day.
Convenient Control
Users can monitor and change settings without being physically near the thermostat.
Better HVAC Management
Smart features help optimize system operation and improve overall performance.
Personalized Temperature Settings
Different schedules can be created for weekdays, weekends, and vacations.
Smart Automation
Connected devices work together to create a more responsive home environment.
Easy Monitoring
Many thermostats provide reports showing temperature history and system activity.
Common Installation Challenges
Although installation is generally straightforward, some issues may occur.
Examples include:
- Missing common wire
- Incorrect wire placement
- Weak Wi-Fi connection
- Incompatible HVAC systems
- Incorrect mounting
- Setup configuration errors
Following installation instructions carefully helps reduce these challenges.
Maintenance Tips
Regular maintenance keeps the thermostat operating efficiently.
Recommended practices include:
- Clean the display regularly.
- Install firmware updates when available.
- Check Wi-Fi connectivity.
- Review schedules periodically.
- Inspect wiring if problems occur.
- Replace batteries if required.
- Test heating and cooling operation seasonally.
Best Installation Location
For accurate temperature readings, install the thermostat:
- On an interior wall
- In a frequently occupied room
- Away from direct sunlight
- Away from air vents
- Away from exterior doors
- Away from kitchens and fireplaces
Proper placement helps improve temperature accuracy and HVAC performance.
Future of Smart Thermostat Technology
Smart thermostat technology continues to evolve with artificial intelligence, advanced occupancy sensing, predictive climate control, enhanced automation, and broader smart home compatibility. Future systems are expected to provide even more personalized climate management while simplifying home automation.
Conclusion
Smart thermostat installation is an excellent way to modernize home climate control and improve everyday convenience. By understanding compatibility, wiring requirements, installation steps, and maintenance practices, homeowners can ensure reliable operation and seamless integration with their smart home ecosystem. As connected home technology continues to advance, smart thermostats will remain an essential component of efficient and intelligent residential climate management.